Visitors

Monday, 7 September 2020

Jelly Jam Roll Quilt

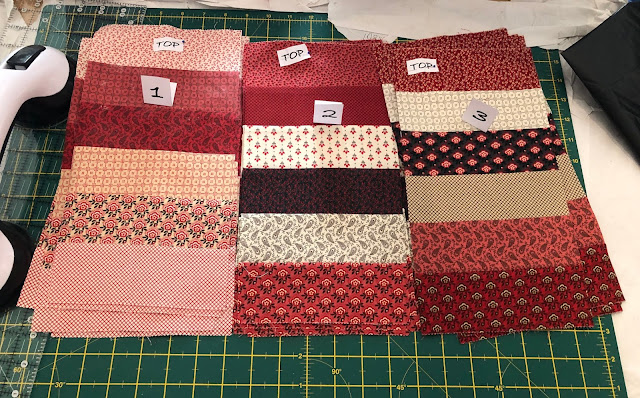
 I've made my first real size quilt ... OK a lap quilt ... but it's done and beautiful! It's called Jelly Jam Roll, and it's a free pattern from The Fat Quarter Shop. I wasn't able to print out the pattern, because I'm out of colour ink, but it was really much better to follow Kimberly Jolly's video on YouTube. The whole quilt went together really quickly - I started it on 31st August, and finished it yesterday (6th September). It's one of their shortcut quilts, which means you sew strips together, and then cut those strips into smaller pieces, re-arrange them and sew everything up. I used the same wavy stitch I used to quilt the mini kitazine quilt. I now want to make a larger one next - usinga Tilda Pardon My Garden jelly roll, for the bed, and then make quilts for Mum and Angelique.


I used an old Moda Petite Prints Deux Jelly Roll, the binding is some of the fabric I bought to make a bag to store my sewing machine's extension table. I bought so much of it I had plenty to use for the binding for the quilt! The backing fabric is the pre-shrunk backing fabric I bought on eBay. Next time I think I'll go for a printed fabric for the backing.

The advise from Kimberly was to not think too much about which fabrics to use, and to start with I was scared to just pick out fabrics, but in the end it just works! 


I had to put all the pieces of the quilt top on the bed, to arrange the blocks, and then I had to iron the bits for the quilt sandwich on the bed too! I wish I had half the room these people on YouTube have to work on and with ... 

I used Aurifil 50wt in shade 2000, for the piecing and the quilting. I used a dark pink thread to machine and then hand sew the binding though because I didn't want the pale colour to show on the pink of the binding. I've got a little collection of Aurifil 50wt threads now, although they're all neutrals, but I've got lots of colours coming soon ... I've bought a box of threads for myself, and I'm getting another set for either Xmas or my birthday. I bought two more colours yesterday, and those are to use for quilting my Grandmother's Flower Garden EPP quilt, and I wanted to use matching colours rather than one of the neutrals. 


(This is for future reference 😊)


This is the back of the quilt, and it shows the wavy stitch I chose for the quilting. I wasn't confident enough to use a straight stitch for my second attempt at quilting, so this stitch didn't have to be as straight.


And the finishing touch ...


Thursday, 27 August 2020

More Finished Projects

I bought this kitazine in the UK a couple of years ago, but hadn't been brave enough to cut into the fabrics to try any of the projects out. I also had the feeling that there wouldn't be enough fabric to make all of the projects, especially if I made any mistakes in cutting, and I was right! But I still managed to make a couple of things.


This is my first completed quilt. I think it turned out OK - not perfect, but finished! I even attempted my first  machine quilting. I used a wavy stitch, to cover up any wonky stitching. I made the binding from a fabric from my stash - the mitred corners aren't perfect, but it's not going to go on show anywhere public!


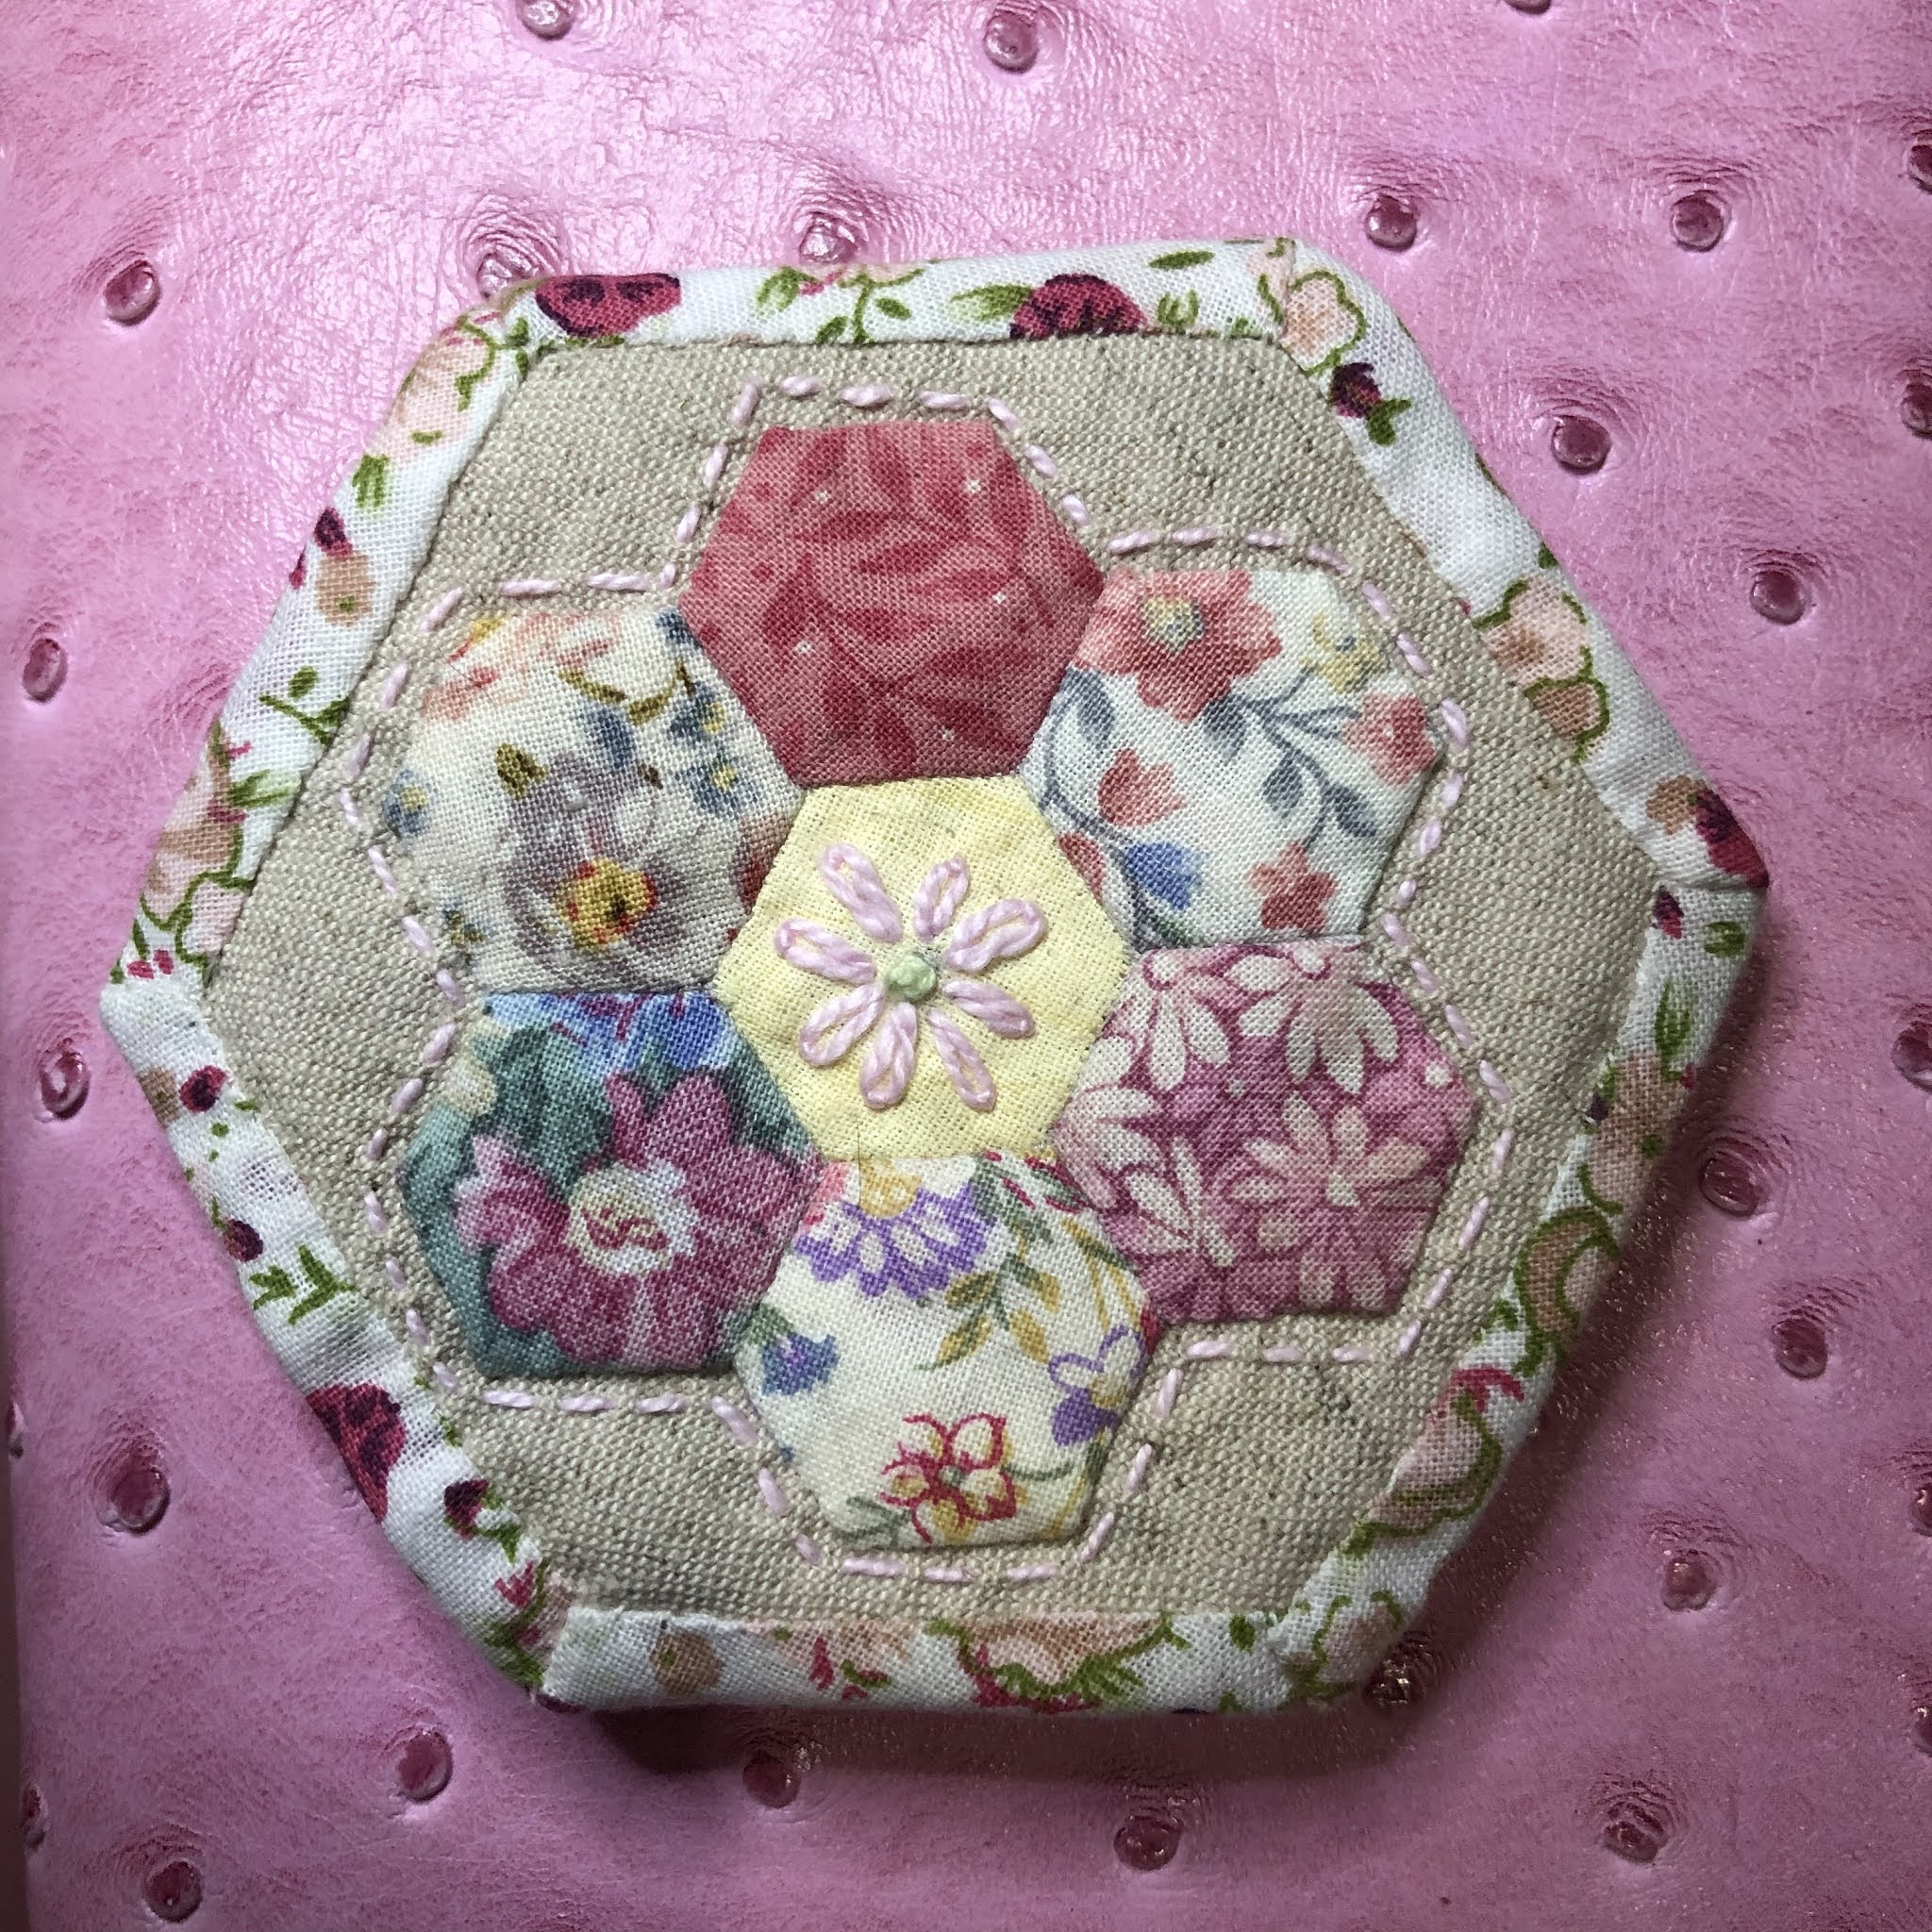
And this Dresden plate design was fun to do. I even had a 10" embroidery hoop I could use 😀


Saturday, 8 August 2020

Needle Case

Here's today's make ... a needle case. The pattern/tutorial is from Vintage Sewing Box (https://www.vintagesewingbox.co.uk/free-patterns.html) Just noticed ... from the photo ... that I could have done the running stitch a bit neater at the top! 


Monday, 20 July 2020

iPad Stand


This is the second fabric I chose, the first one ... melted when I ironed it!! You can't see it in the photo, but there's a turquoise line/stain on the front and back - no idea what from ... I've filled it with "doll weight" pellets and bits of wadding. I found the pattern on Instagram, and it's very easy to follow, and very quick to sew up. There's a strip of heavy interfacing inside, to make a "platform" for the iPad (or phone ... or book?) to stand on.  


Sunday, 19 July 2020

A Little Bit of Stitchery


Bird Stitchery Design by Gail Pan

A little bit of embroidery for a change. I got the design from Gail Pan's website (I don't think it's available now). I had this frame which was just right fit! It took me about a week to stitch. I've used variegated DMC threads. It's now hanging on my living room wall. 


Wednesday, 15 July 2020

Sewing - Thread Catcher/Pincushion

I've had my (very expensive) Brother Innovis 1800Q for five years, and I finally got to use it! My craft room was in a mess and although there's still a LOT to tidy up, put in drawers, or throw away, I feel I'm getting there. At least I can use the sewing machine. The first thing I made was this thread catcher/pincushion. I bought the pattern from Etsy, and it was very easy to follow. I used some tiny plastic beads - which are meant to add weight to doll bodies - to the pincushion, plus some soft toy filling. I already have a pincushion/thread catcher, but the bag is very baggy and I wanted something more sturdy.


I have a HUGE pile of unfinished needlework projects - quilts, bags, applique pictures, and so much more - and I want to see how many I can get finished before the end of the year! The "kits" are taking up too much room in drawers which I could be using for other things. 

I want to use up lots of the fabrics I have, and not buy any more! The fabrics I used for this project are from Moda, and I bought it to make one of my quilts, though I can't remember which now ... it's been so long! 


All My Miniature Building "Finishes" So Far in 2020

I haven't posted anything since December last year, but not because I haven't been doing any crafts, because I have ... a LOT. I just felt I should be using the time to actually crafting and not having to stop to post after every step. I was - and still am - working on each of the projects as the mood hit me. That meant that I had lots of boxes full of the parts for each of the buildings lying around, but after a while the pile of boxes came down. I still have a few things to finish, but it's too hot at the moment to do anything too taxing ...

*********************************************************************************

These are my finishes so far this year. All the buildings below are 1:48 scale, and all from Petite Properties.


The Corner Shop.  This is one of the early Petite Properties book and kit packs. I wasn't confident I could do the bricks with air dry clay, but I've used some embossed paper I bought on Etsy (from Greece), and it works very well. The shop facade is made from cardboard, and I'm very happy with how it turned out. I much prefer the newer kits where everything is included. For these earlier ones you had to make the windows from sticker strips stuck onto acetate, make card doors ... But in the end I just went for it and it worked! The interior is OK, but one of the corners could have been done better ... When I come to furnish the inside I want to put a pile of boxes in that corner to hide the messy bit!

*********************************************************************************


Cockleshell Cottage. This one is another of te early kits. Had to make a bumpy roof on this one. In the instructions they tell you to use air dry clay, but instead I made the "bumps" with air dry clay, and put some of the Greek cobblestone paper over it ... and it looks really good! I've got a little (tiny ...) boat kit from Jane Harrop, and I want to make it up to put outside this cottage.

*********************************************************************************


 Money Box. This one came with the door and windows, the bricks, and even the crack, already printed/etched on. I'd put off finishing it for many years but I decided to go for it and got out my thinnest paintbrushes and again it turned out really well!

*********************************************************************************

Another money box ...

*********************************************************************************


Toadstool Cottage. I had to make the exterior beams from card ... More of the embossed paper on the chimney and permanent marker lines to make the leaded windows.

*********************************************************************************


 This is the little cabinet on which La Belle Boutique will eventually stand.

*********************************************************************************

These are the individual buildings which make up Memory Lane.  These are from right to left -


The Lean-To Scullery. This is an extension to Purbeck Cottage (below).


 Purbeck Cottage.


Nanna's Pantry. A cake shop!


Marshalswick House. Hotel.


Daffodil Cottage.


Buttons and Bunting. Haberdashery.


Marsworth Arms. Pub.


 Crimple Cottage.

*********************************************************************************


Washtub Cottage. Again, another of the earlier kits. I had to make the windows using acetate and stickers. The stone exterior is more of the Greek embossed paper. The pavement I made by cutting out pieces of card.

All the buildings for Memory Lane are now finished, and I have a shelf to put them all on, but I have to drill holes in the hard wall in the living room and I'm a little bit scared ... 

*********************************************************************************


The bedroom in my 1:24 scale cottage. I had a chair to match the desk, but Tilly "ate" it! I bought this little chair kit from Petite Properties, and painted it and distressed it a little to match the desk as well as I could. Looks like they belong together 😆

*********************************************************************************